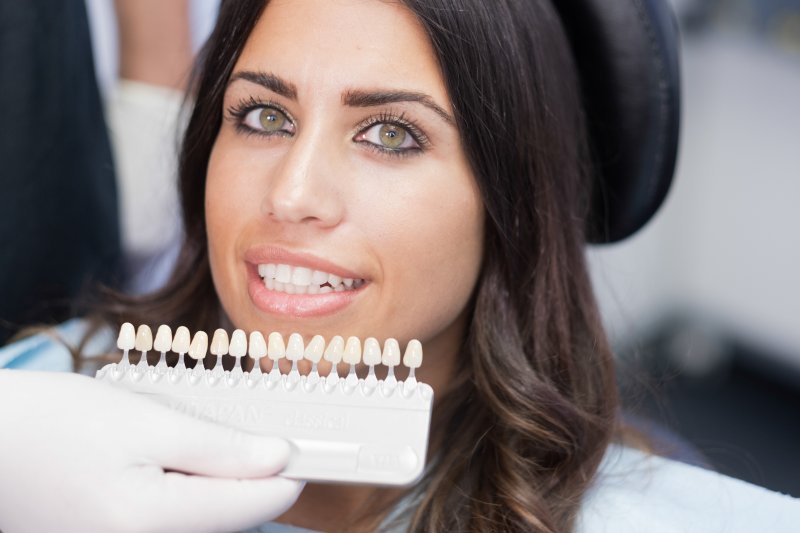
As a responsible consumer, you try not to jump on every trend and bandwagon that goes by. You learn about it and determine if it’s right for you! Even if you’ve heard that porcelain veneers can improve the appearance of your teeth, you might not be convinced yet. It’s better to know exactly what goes into a process before trusting it, right?
In that spirit, here’s a breakdown of the porcelain veneer process from your local cosmetic dentist in Sachse. Read on and decide for yourself if the procedure reliably produces shinier, whiter teeth!
Step 1: Consider What You Want from Veneers
Firstly, you need to figure out what you want from your veneers. What does your ideal smile look like?
This question matters, as veneers can be fabricated to address many types of flaws. Depending on their parameters, they can give you a one that’s clean yet natural, or a bold and intense one like that of a Hollywood star. Talk to your dentist about these possibilities, and they’ll consult with a technician to customize your future veneers to your wants.
Step 2: Preview the Possibilities
Here, you will preview what your smile would look like with different kinds of veneers. One option is for the dentist to create an exact model of your teeth and then shape “veneers” using wax. A more effective choice, however, is for your dentist to make trial veneers out of an acrylic plastic or tooth-colored material.
Step 3: Teeth Preparation
At this stage, the dentist will begin preparing your teeth to be fitted for the veneers. These preparations can vary from polishing the teeth, removing tooth structure from the front, and so on. How much material is removed from the teeth during this step will depend on the desired result.
It’s highly recommended that patients be clear about this part of the process before it begins, as tooth reduction is not reversible.
Step 4: Get an Impression
Once your teeth are ready, an impression of them will be made, which will then be sent to the dental laboratory to create an exact replica of the teeth. In the meantime, you’ll be provided a set of provisional veneers.
Your dentist will fine-tune the provisional veneers after you adapt to them, making sure you’re pleased with their performance. At this point, photos and an impression of the provisional veneers will go to the lab and serve as a picture of what the final veneers should look like.
Step 5: Time to Bond
Lastly, the final veneers will come back from the lab and be physically bonded to your teeth. Using a method so secure it would take a dental drill to separate them, both your teeth and the inside of the veneers will be “etched” with a mild acidic solution and then cemented together. It’s a seamless attachment that will essentially bond the tooth and veneer at a microscopic level.
If you like to know what you’re getting into, you can feel better now about the whole porcelain veneer treatment. It’s nothing to fear, as it’s a safe and effective form of dentistry every step of the way!
About the Author
Dr. Travis Rottman is a dentist based in Sachse, TX, having graduated with his Doctor of Dental Surgery from the Texas A&M Baylor College of Dentistry. A member of the Academy of General Dentistry, he also attends seminars and completes numerous continuing education hours ensure he provides the up-to-date dental care for his patients. He currently practices at Sachse Family Dentistry and can be reached at his website or by phone at (972)-848-0073.
